Loops II
Karl Gerstner.
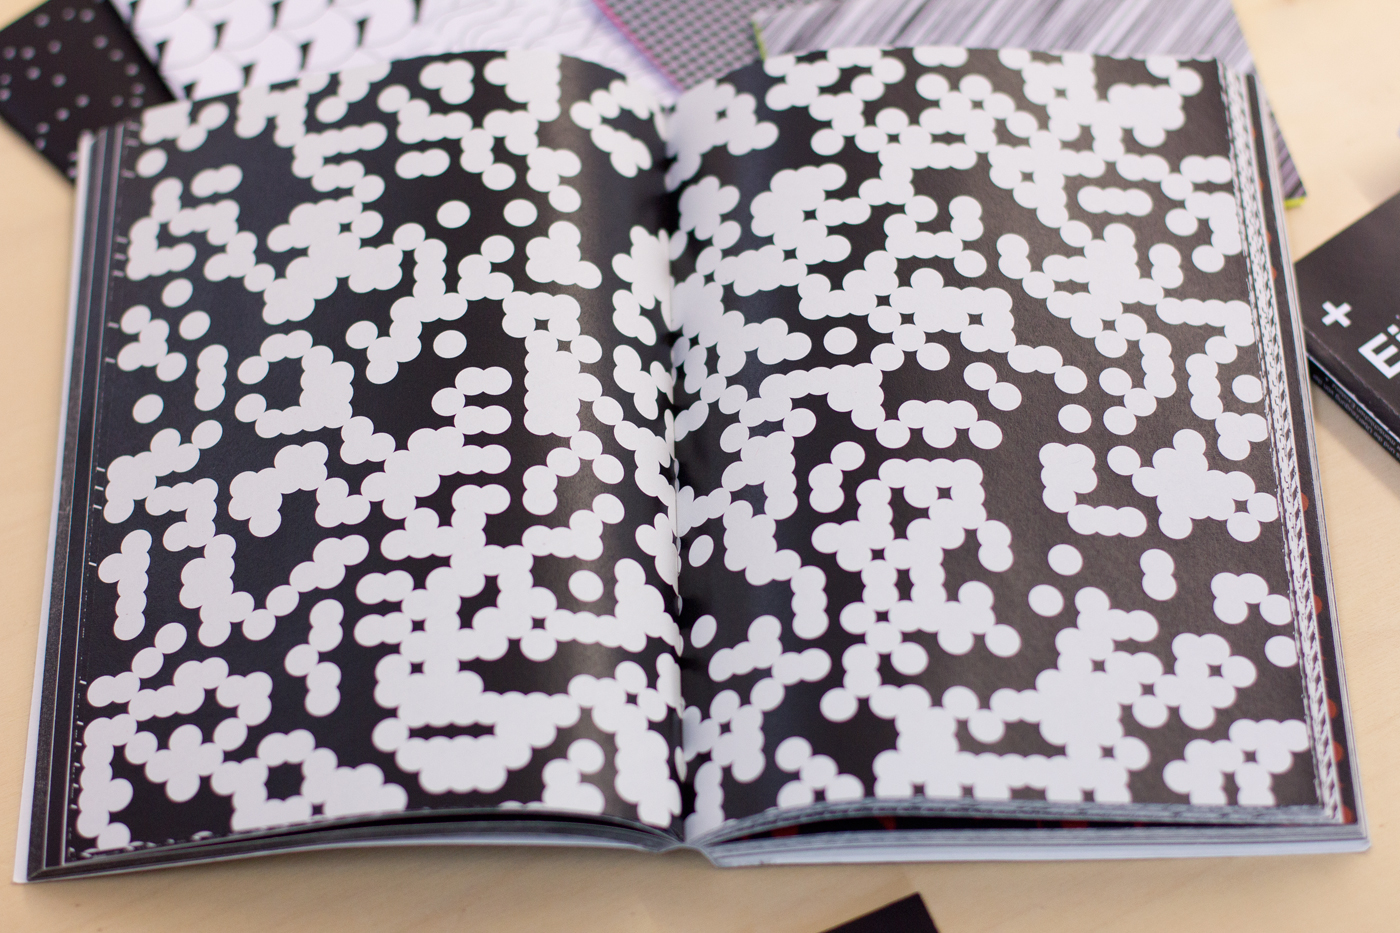
Student generative pattern exercise. ESAD Amiens 2019.
The Combination of Simple Elements
In the realm of graphic design we talk about grids all the time. Essentially, a grid is a means for organising graphic elements within a defined space. It is a facilitator of the design process but it can equally be an apparent part of the visual. When we combine shapes on a structured grid, we can create complex patterns, the interaction of simple basic form evolving into something greater. Patterns are an integral part of graphic design’s history and despite often being considered a purely decorative means, they can be explored and used beyond this graphic canon.
A good example of where grid structures come in handy in programming can be seen in image manipulation. Grids are the organising principle for pixels. A digital image therefore can be considered as a grid and being able to access the pixels on this grid is the basis for a whole area of possibilities for working with images. However, let's keep to the fundamentals here and start with a basic example for repeating form on a grid like structure.
In the last chapter, we looked at the for loop and the concept of iteration which lies at the heart of the computer’s power - repeating operations at speed. In this chapter, we take that same programming structure but instead of positioning form in a random fashion on the canvas, we will place them in an orderly manner, in a grid-like manner. In order to do this, we will write what is called a nested for loop; a loop within a loop.
A Simple Repeat
                Eg 1. js.
                for
                (var x = 0; x < 600; x+=15)
                {
                  ellipse(x, 100, 10, 10);
                }

                Eg 2. java
                for
                (int x = 0; x < 600; x+=15)
                {
                  ellipse(x, 100, 10, 10);
                }
As you can see from the code, we repeat the ellipse along the x axis at an interval of 15 pixels up until 600. Note both the declaration of the variable x within the loop structure as well as the attribution of this same variable within the ellipse function call. Now, we just need to write a similar loop but for the y axis.
                Eg 2. java
                for
                (int y = 0; y < 460; y+=15)
                {
                     (int x = 0; x < 600; x+=15) {
                         ellipse(x, y, 10, 10);
                    }
                }
This is the nested loop and as we can see it draws a grid of circles all neatly aligned along the x and y axis.
The above example is rather simple yet you will see and indeed use that structure all the time. Understanding that structure will help you immensely in your future coding, so take the time to learn it and use it. Creating a grid of forms in this manner is a good way to visualise how the nested loop works. However, it is important to keep in mind that the for loop is a general structure for repeating operations. Those operations are not necessarily the drawing of a shape. For example, loops are used all the time to store and access data in arrays; a data structure that enables one to store multiple variables or objects.
The Interaction of Patterns
Let’s take it a step further and make an interactive piece in which the mouse movements modify some variables of our grid structure. In the example below, the sketch uses the above principal of nested loops to repeat two superimposed polygons. You can interact with this sketch both with the mouse and with key input: mouseX increases size mouseY increases rotation angle + increases number of sides of polygon - decreases number of sides of polygon j increases number of repetitions for y u decreases number of repetitions for y Try to find the others ... ;--]
If you explore this sketch a little , making slight changes to the various variables, you can observe some interesting patterns that arise. When shapes repeat and overlap, it is the visual interaction of each that bring about more complexity. This basic principal, along with the creation of your own custom shapes, using functions, can be a fascinating realm of graphic possibilities.
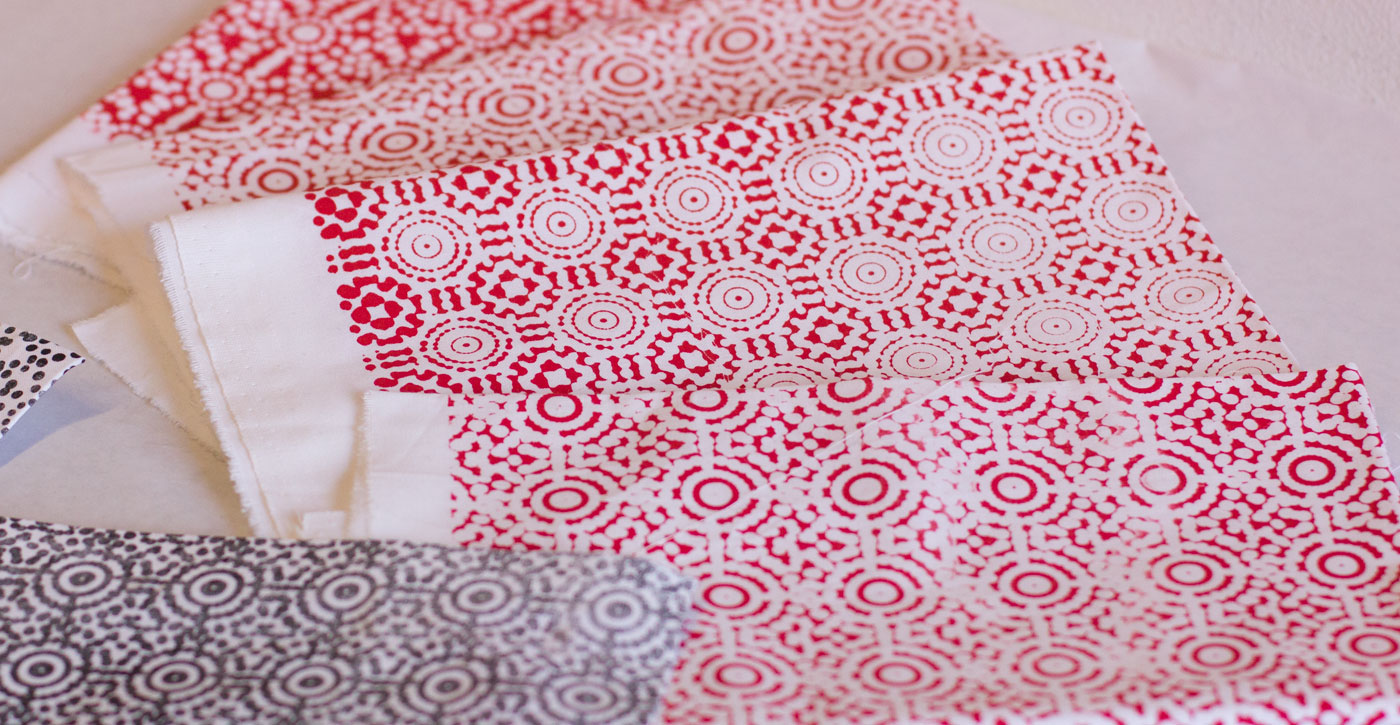
Patterns on tissue. ESAD Amiens 2019.
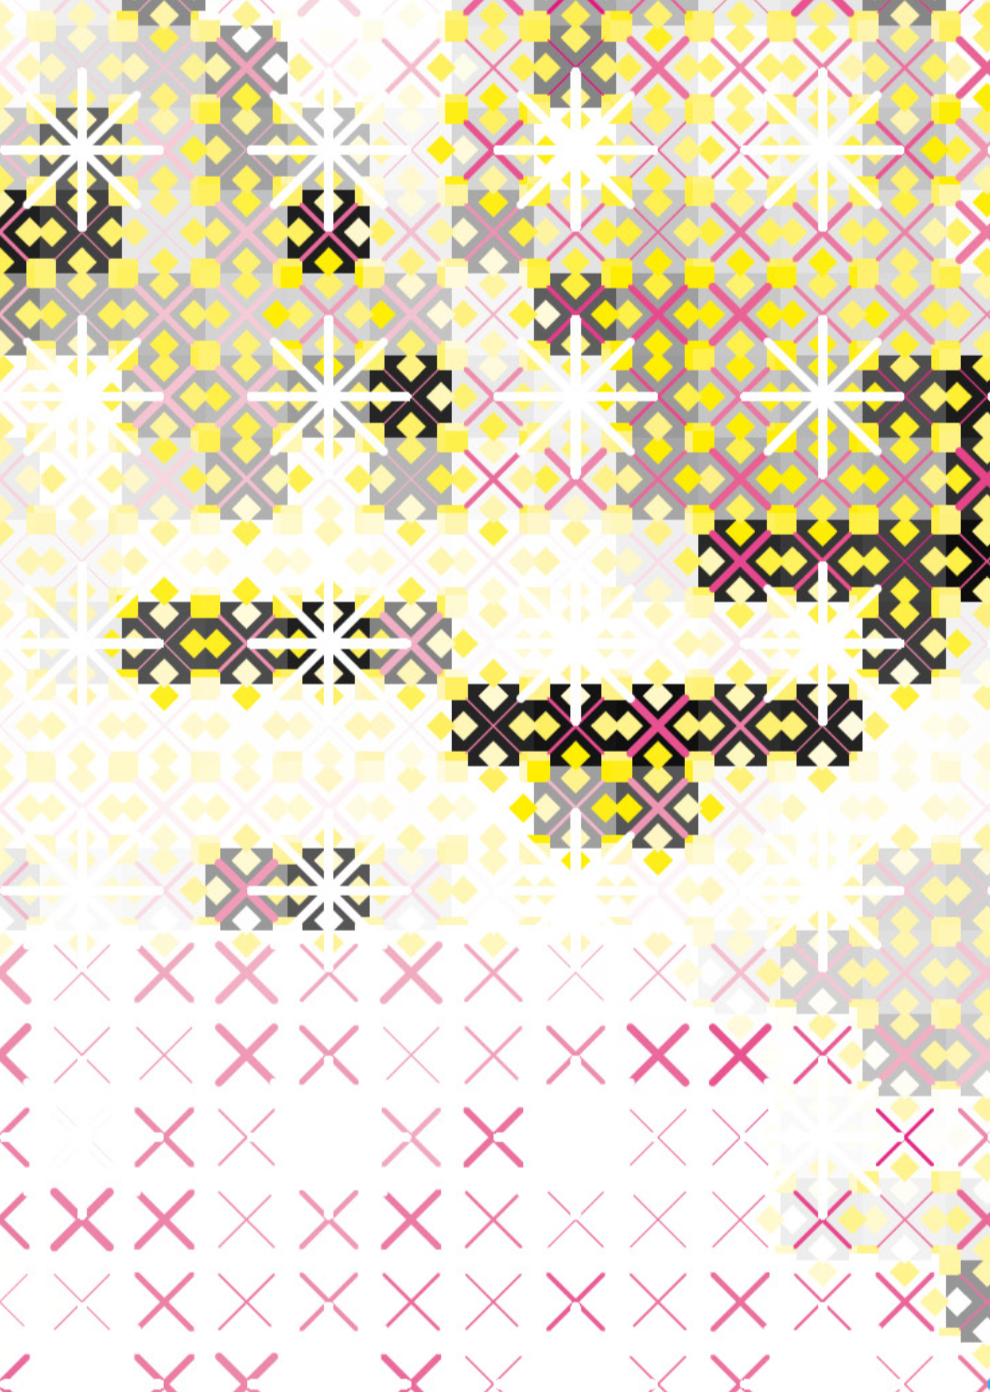
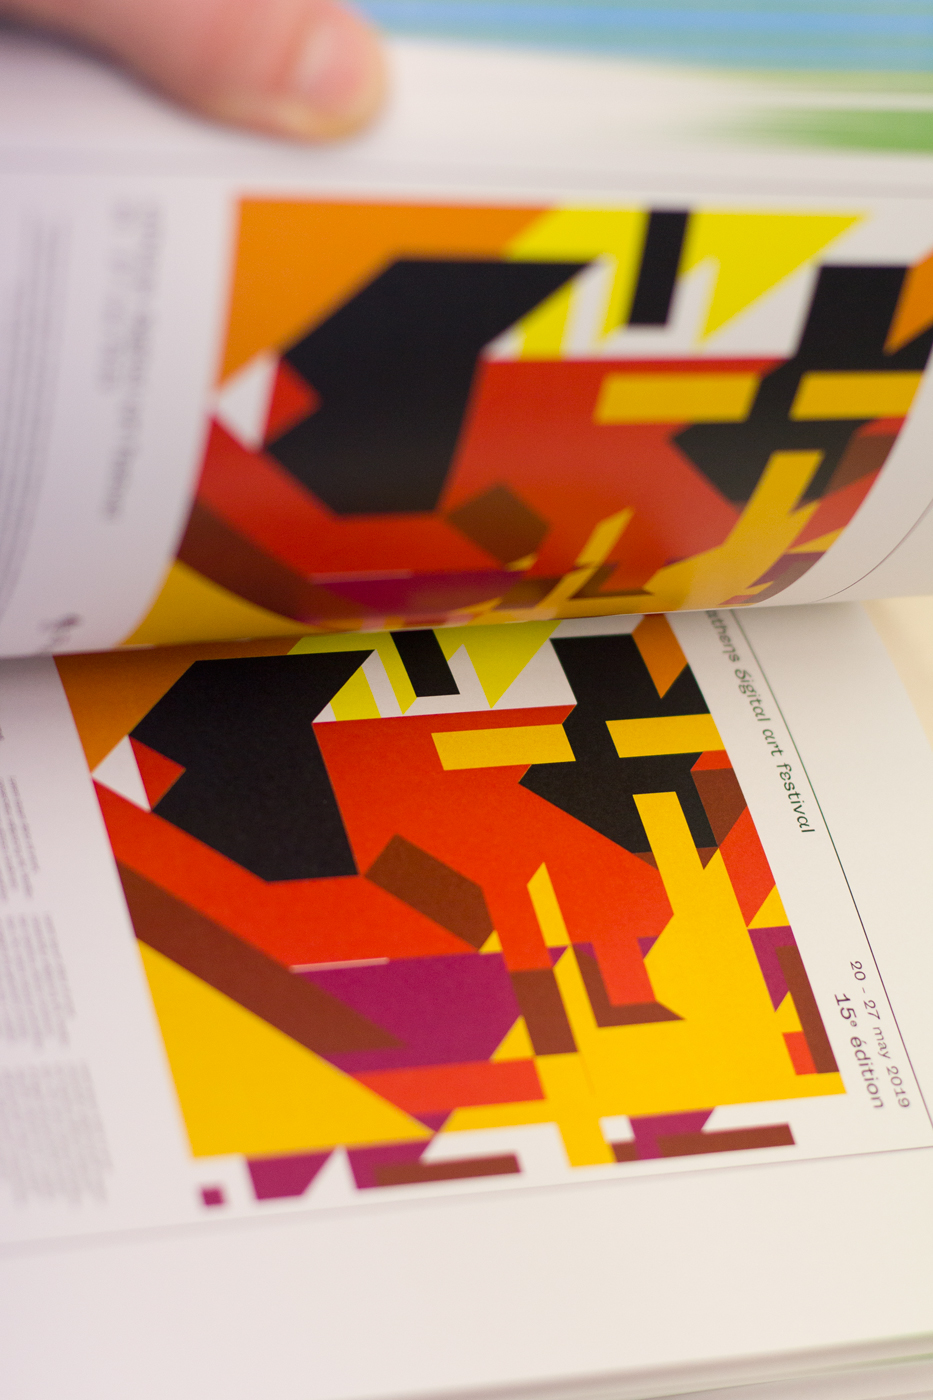
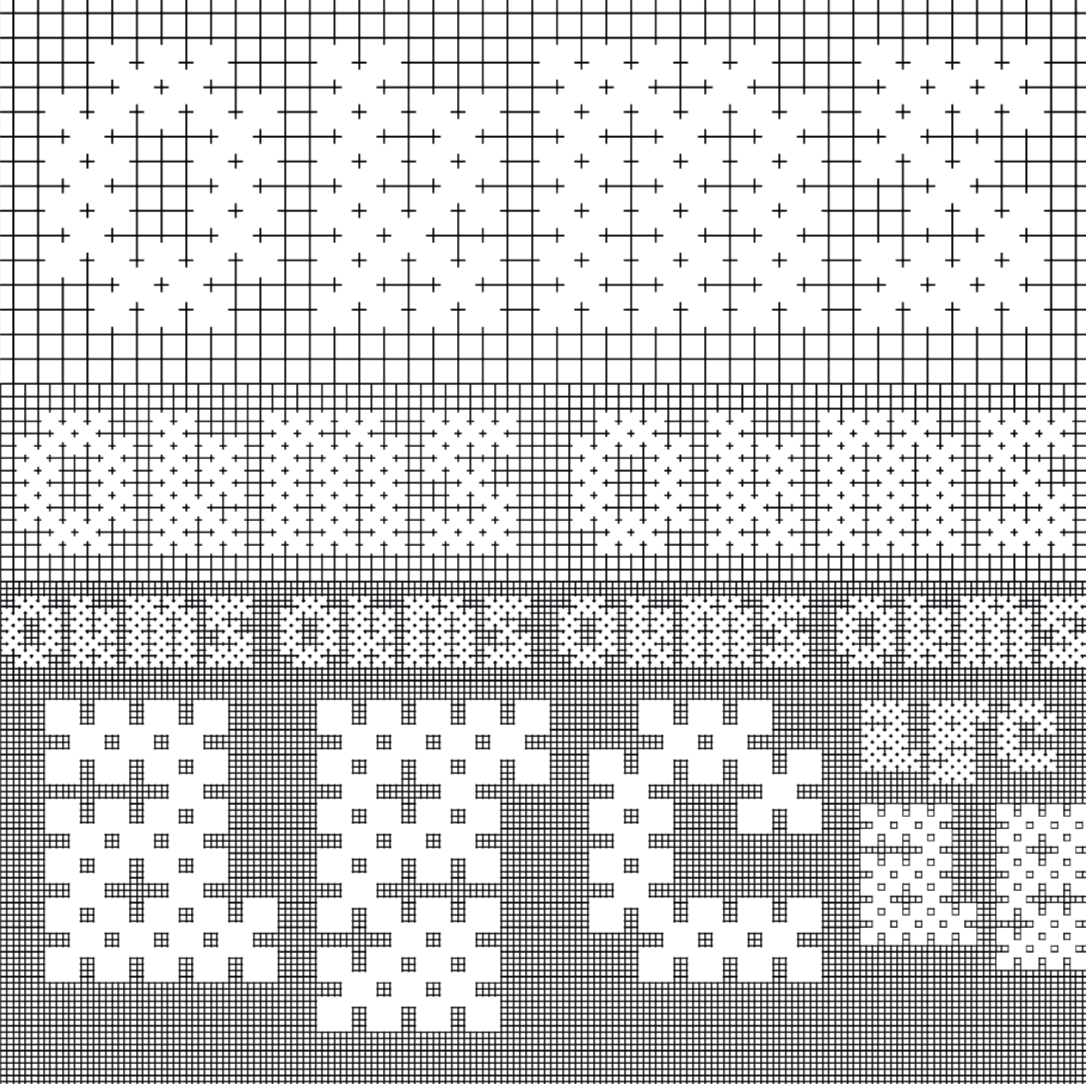
Patterns for posters, identities and type. ESAD Amiens 2019.
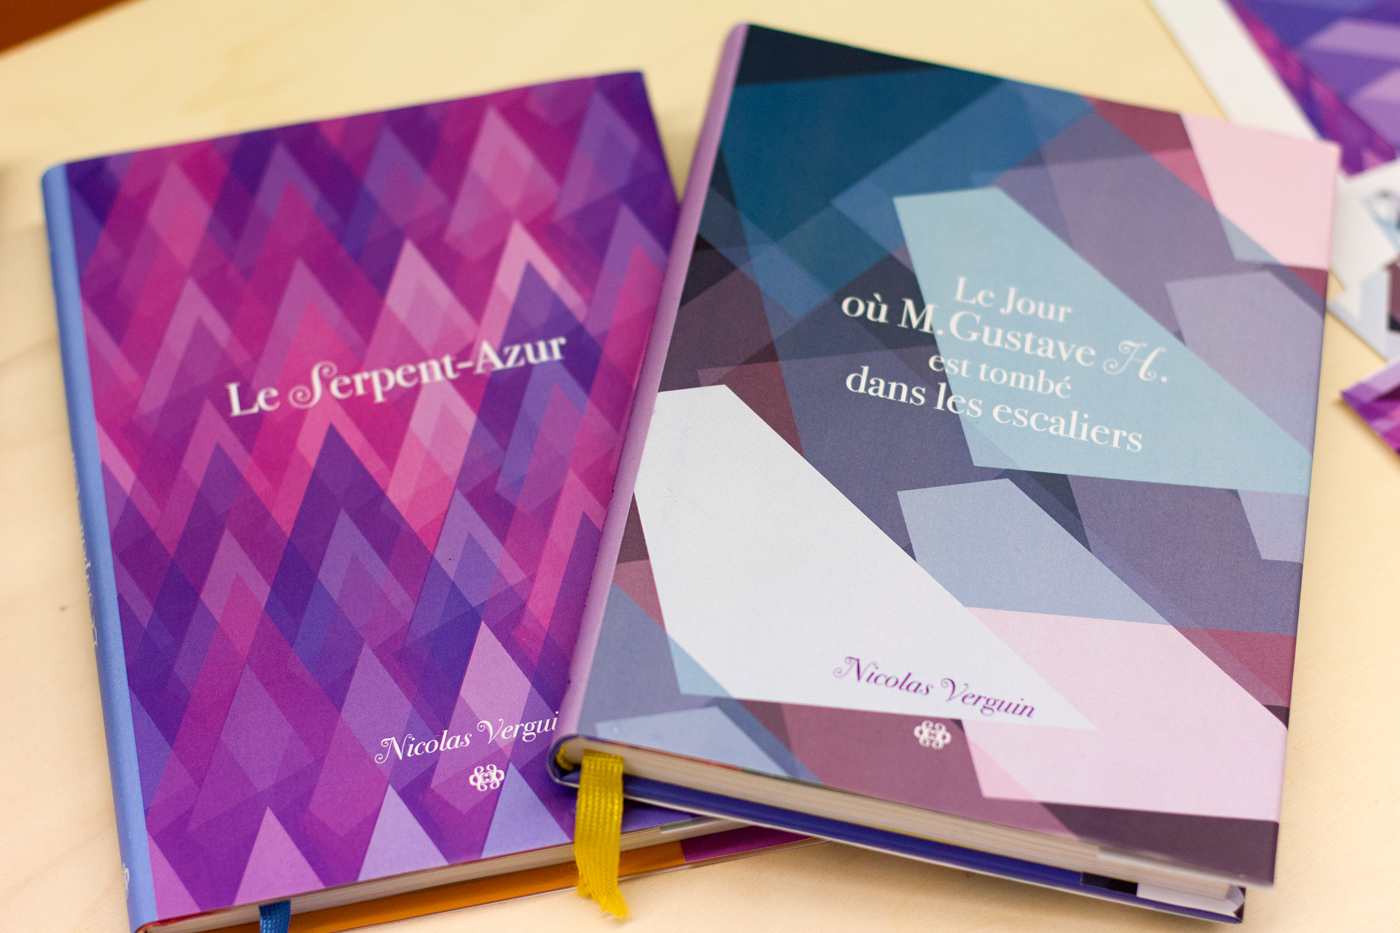
Student generative book cover exercise. ESAD Amiens 2019.